With Mother’s Day fast approaching we have a great guest blog from fellow Mumbler and mum Victoria. Below she shares two ideas from her MAMA blog for homemade Mother’s Day cards that are quick and simple but really effective!
My name is Victoria Seal, I am a wife, a mum, a part-time Doctor and an enthusiastic arty experimenter! I started the blog Mega Awesome Messy Art (MAMA) in 2017 with the aim of offering ideas and support to those who want to complete art projects at home with their children but, like I was in the beginning, are too nervous to do so.
I started experimenting by drawing round hands and feet, doing simple prints and letting my son explore different textures for himself. Then as my confidence grew I started venturing into crayons, stickers, paints, glitter (in moderation!), collage, ceramics and beyond. I’m now even inducting the newest member of our family into the wonderful world of messy art!
I do not take credit for all the ideas I share being 100% original – with a large community of parent bloggers out there we all share creations and let ideas evolve between us. I do however offer guides on things we’ve tried and offer helpful hints for projects which have gained the “Seal of Approval” (along with a few mishaps and disasters along the way).
The biggest thing I have learnt so far on my ‘MAMA Journey’ is not to worry about the final product but to enjoy the experience of trying new things together. Trust me though, amongst all the smudged handprints and brown splodges will be the perfect art piece you will treasure forever!
With one of my son’s favourite painting tools being the cotton-bud and my favourite flowers being hydrangeas we decided to combine these to make some lovely flowery Mother’s Day Cards.
Equipment:
For the painting bit:
For the extra decoration bit:
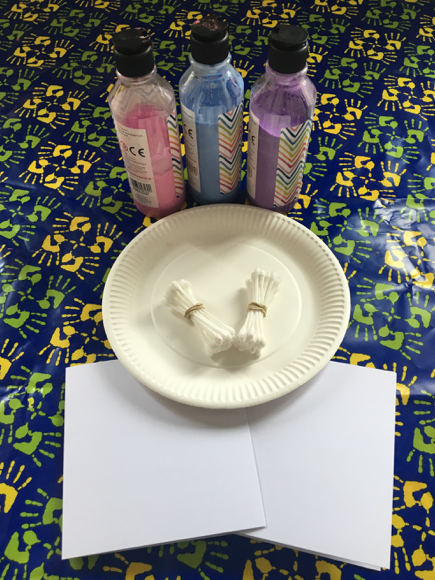
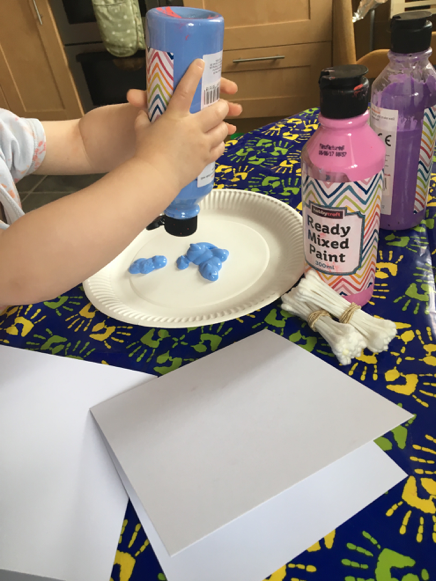
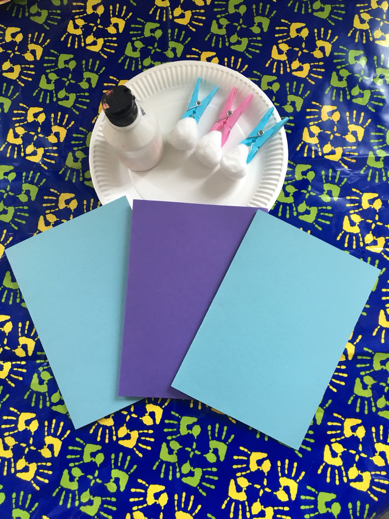
Firstly, set up all of your painting equipment in your painting space whether it be a plastic activity mat/towel or in a tuff tray (one of my favourite purchases!) For the paints, I chose to use pastel colours as I felt they were most appropriate for hydrangeas, but you can use which ever colours you want (maybe choose your mum’s favourites). My son likes to help squirt the paints out on the paper plates/in pots but if you have a younger child you may want to do this in advance.
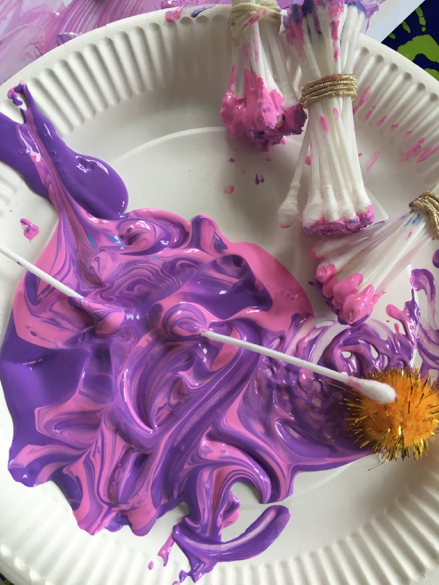
For your mark making tool tie a bunch of cotton buds together, I did this using an elastic hair band but you could use tape/elastic bands etc. Finally, get into your painting clothes/put on your aprons and you’re ready to go!
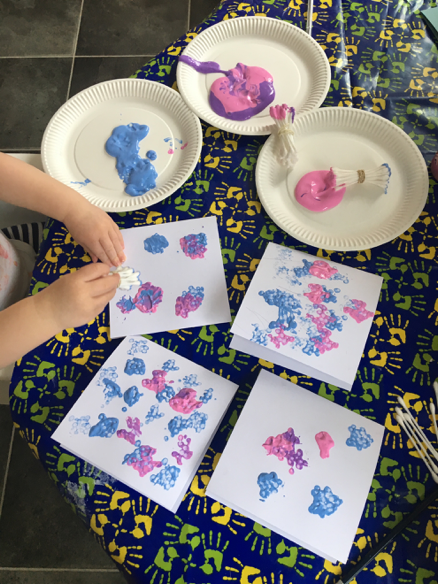
I dipped the bunches of cotton buds into the paint and showed my son how they made the marks on the card. I then let him have fun mixing the colours and making lovely flowers on the cards. After doing this he decided he wanted to use the cotton buds to mix up the paints into lovely swirly patterns – so it turned into a bit of messy play/sensory exploration at the end.
For the extra decoration part, we did a variety of things depending on how the marks ended up on the card so you really can mix and match. For some of them I drew around my son’s hand on some card then used this as a template to cut out foam fingers which we stuck onto the cards with double sided sticky tape to look like stems of flowers.
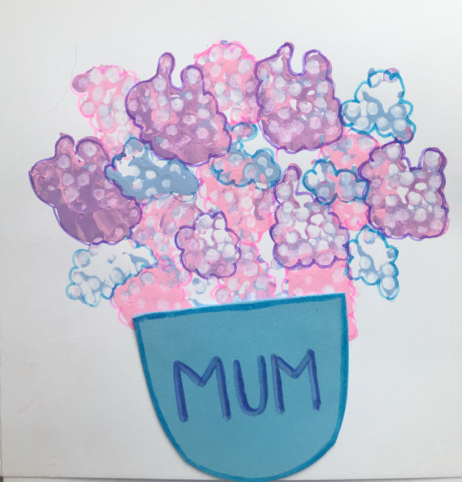
I also cut out foam shaped flower pots to stick on the cards (again using double sided sticky tape as this is easier for my son at the moment but you could use PVA glue). I used the flower pots as the area to write “Mum” or whatever you wish to write with felt tip pens.
To give the flowers a bit more definition I drew round them with felt tip pens of the same colour, I also drew little leaves in random places to fill out the space – and there you go some lovely flowery cards to give to your MAMA’s for Mother’s Day!

This was a really quick and fun activity which made super cute Mother’s Day cards but could also be used for birthdays or other events.
Equipment;
For the painting bit;
For the decorating bit;
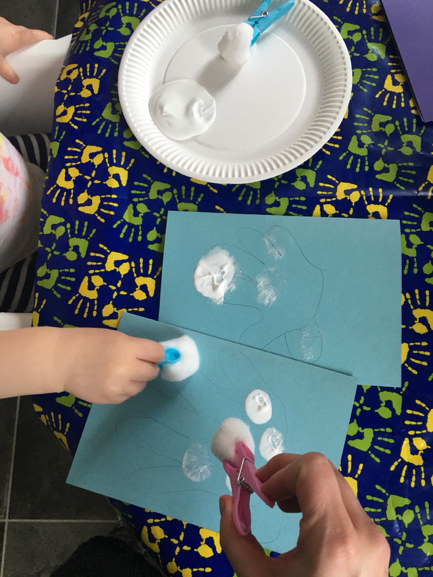
Compared to other MAMA activities this one does not need that much preparation so it is a quick one to do if you don’t have too much spare time. I put the activity mat on table (could use floor), clipped the cotton wool balls onto the pegs and then put the paper plates, paint tubes and card on the table and we were ready to go.
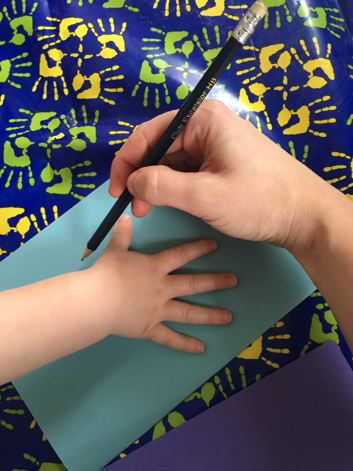
To ensure my son had an area to aim for with the white paint we drew around our hands on the card with pencil and I made it look like a sheep by adding a head so he understood what we were trying to make. You could just draw a circle but we always like to practice drawing around hands!
I then let my son squeeze the white paint onto the paper plates and showed him how to dip the cotton wool ball/peg combo into it and make splodges onto the handprints. He then copied and I just pulled the card away when enough was on there. Whilst doing this my son noticed some of his pom-poms in the painting box so we tried using these to make the splodges too – they worked really nicely and actually made a cleaner circle mark than the cotton wool balls. So, I’d advise using some pom-poms too!

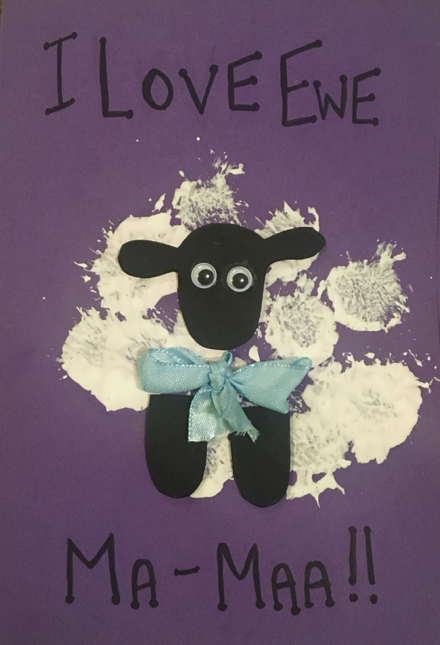
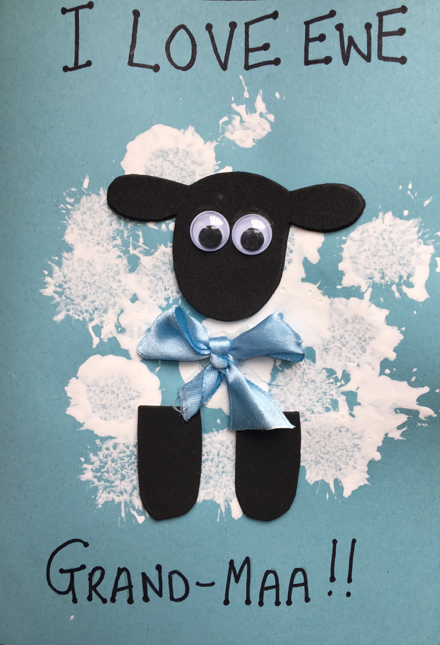
Once the paint had dried I rubbed out any visible pencil marks. I then drew a sheep head and two legs onto the black craft foam, cut them out and stuck two goggly eyes onto the head. I then put double sided sticky tape (my new best friend!) on the backs of the head, legs and a bow and my son stuck them onto the white paint splodges (with a bit of guidance).
Next use a felt tip/permanent marker pen to write “I Love Ewe Ma-Maa” or “I Love Ewe Grand-Maa” onto the cards – and there you go, you have some cute, funny Mother’s Day cards!!
If you like our ideas and think you’re ready to start your very own ‘MAMA Journey’ then please follow my blog at www.megaawesomemessyart.com and find us on social media; Instagram, Facebook and Twitter! I am currently hosting #march_play on Instagram which is a list of play prompts for each day which is a lot of fun!
*Published 14th March 2019